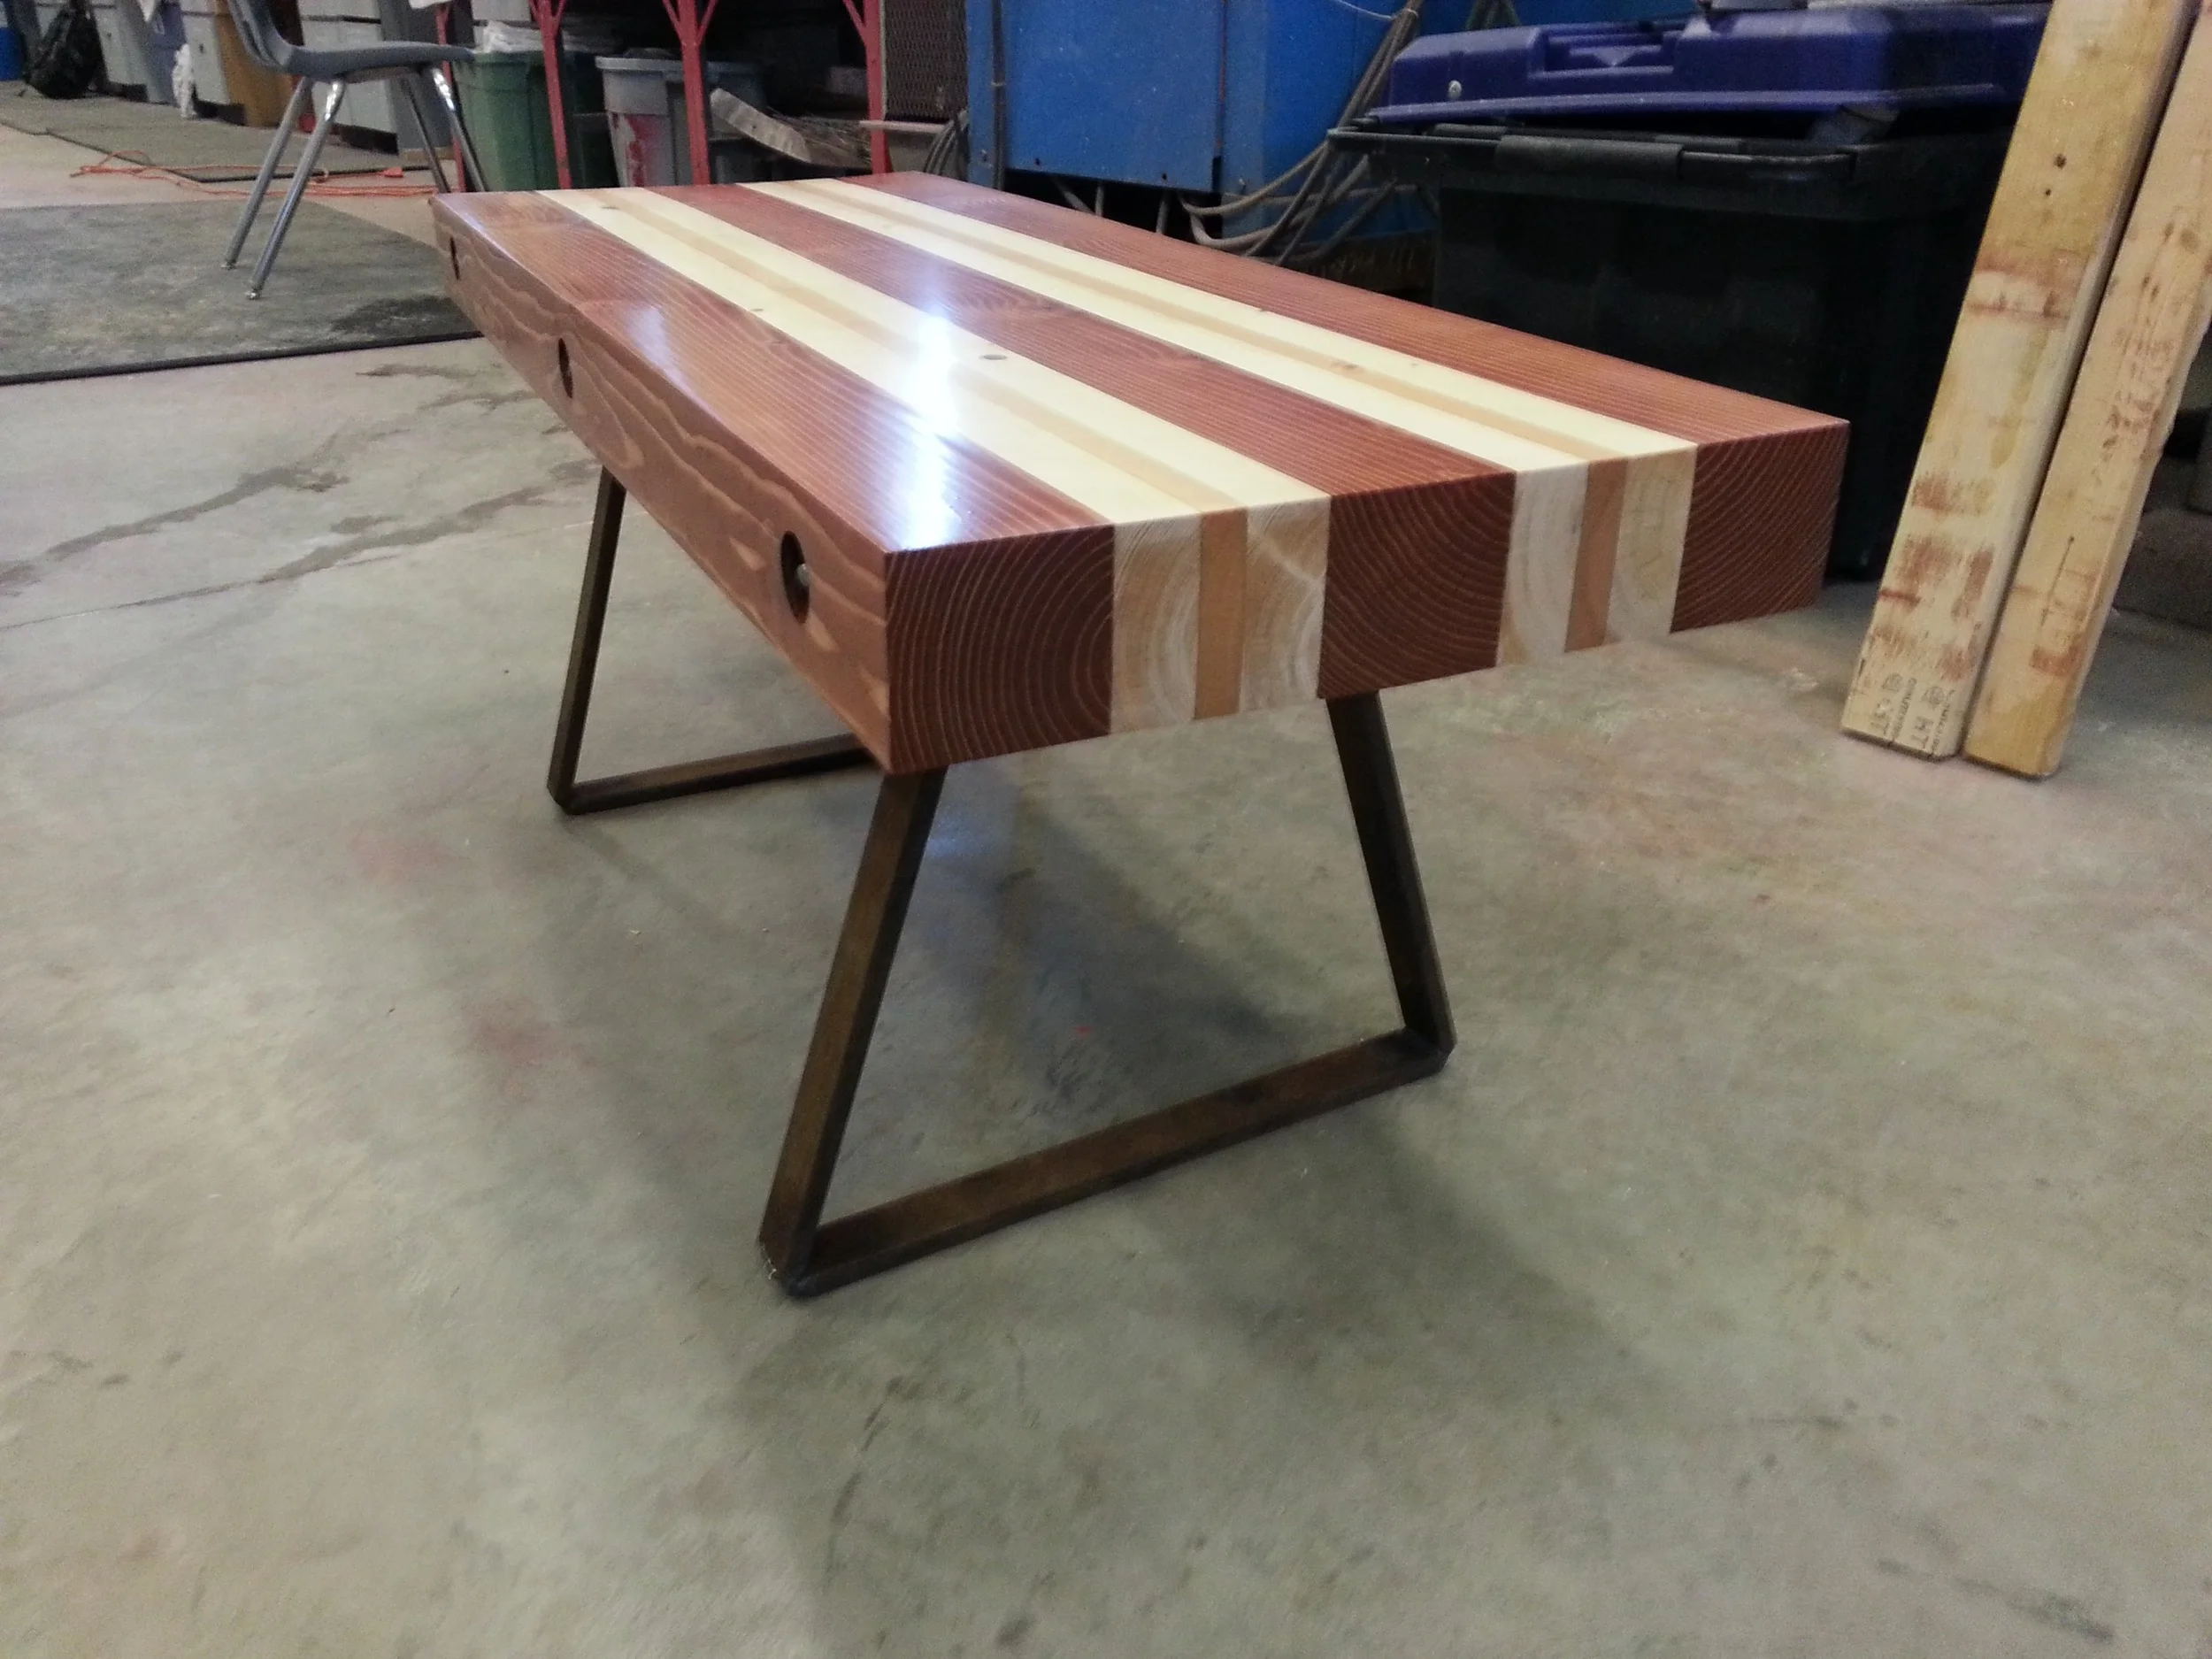
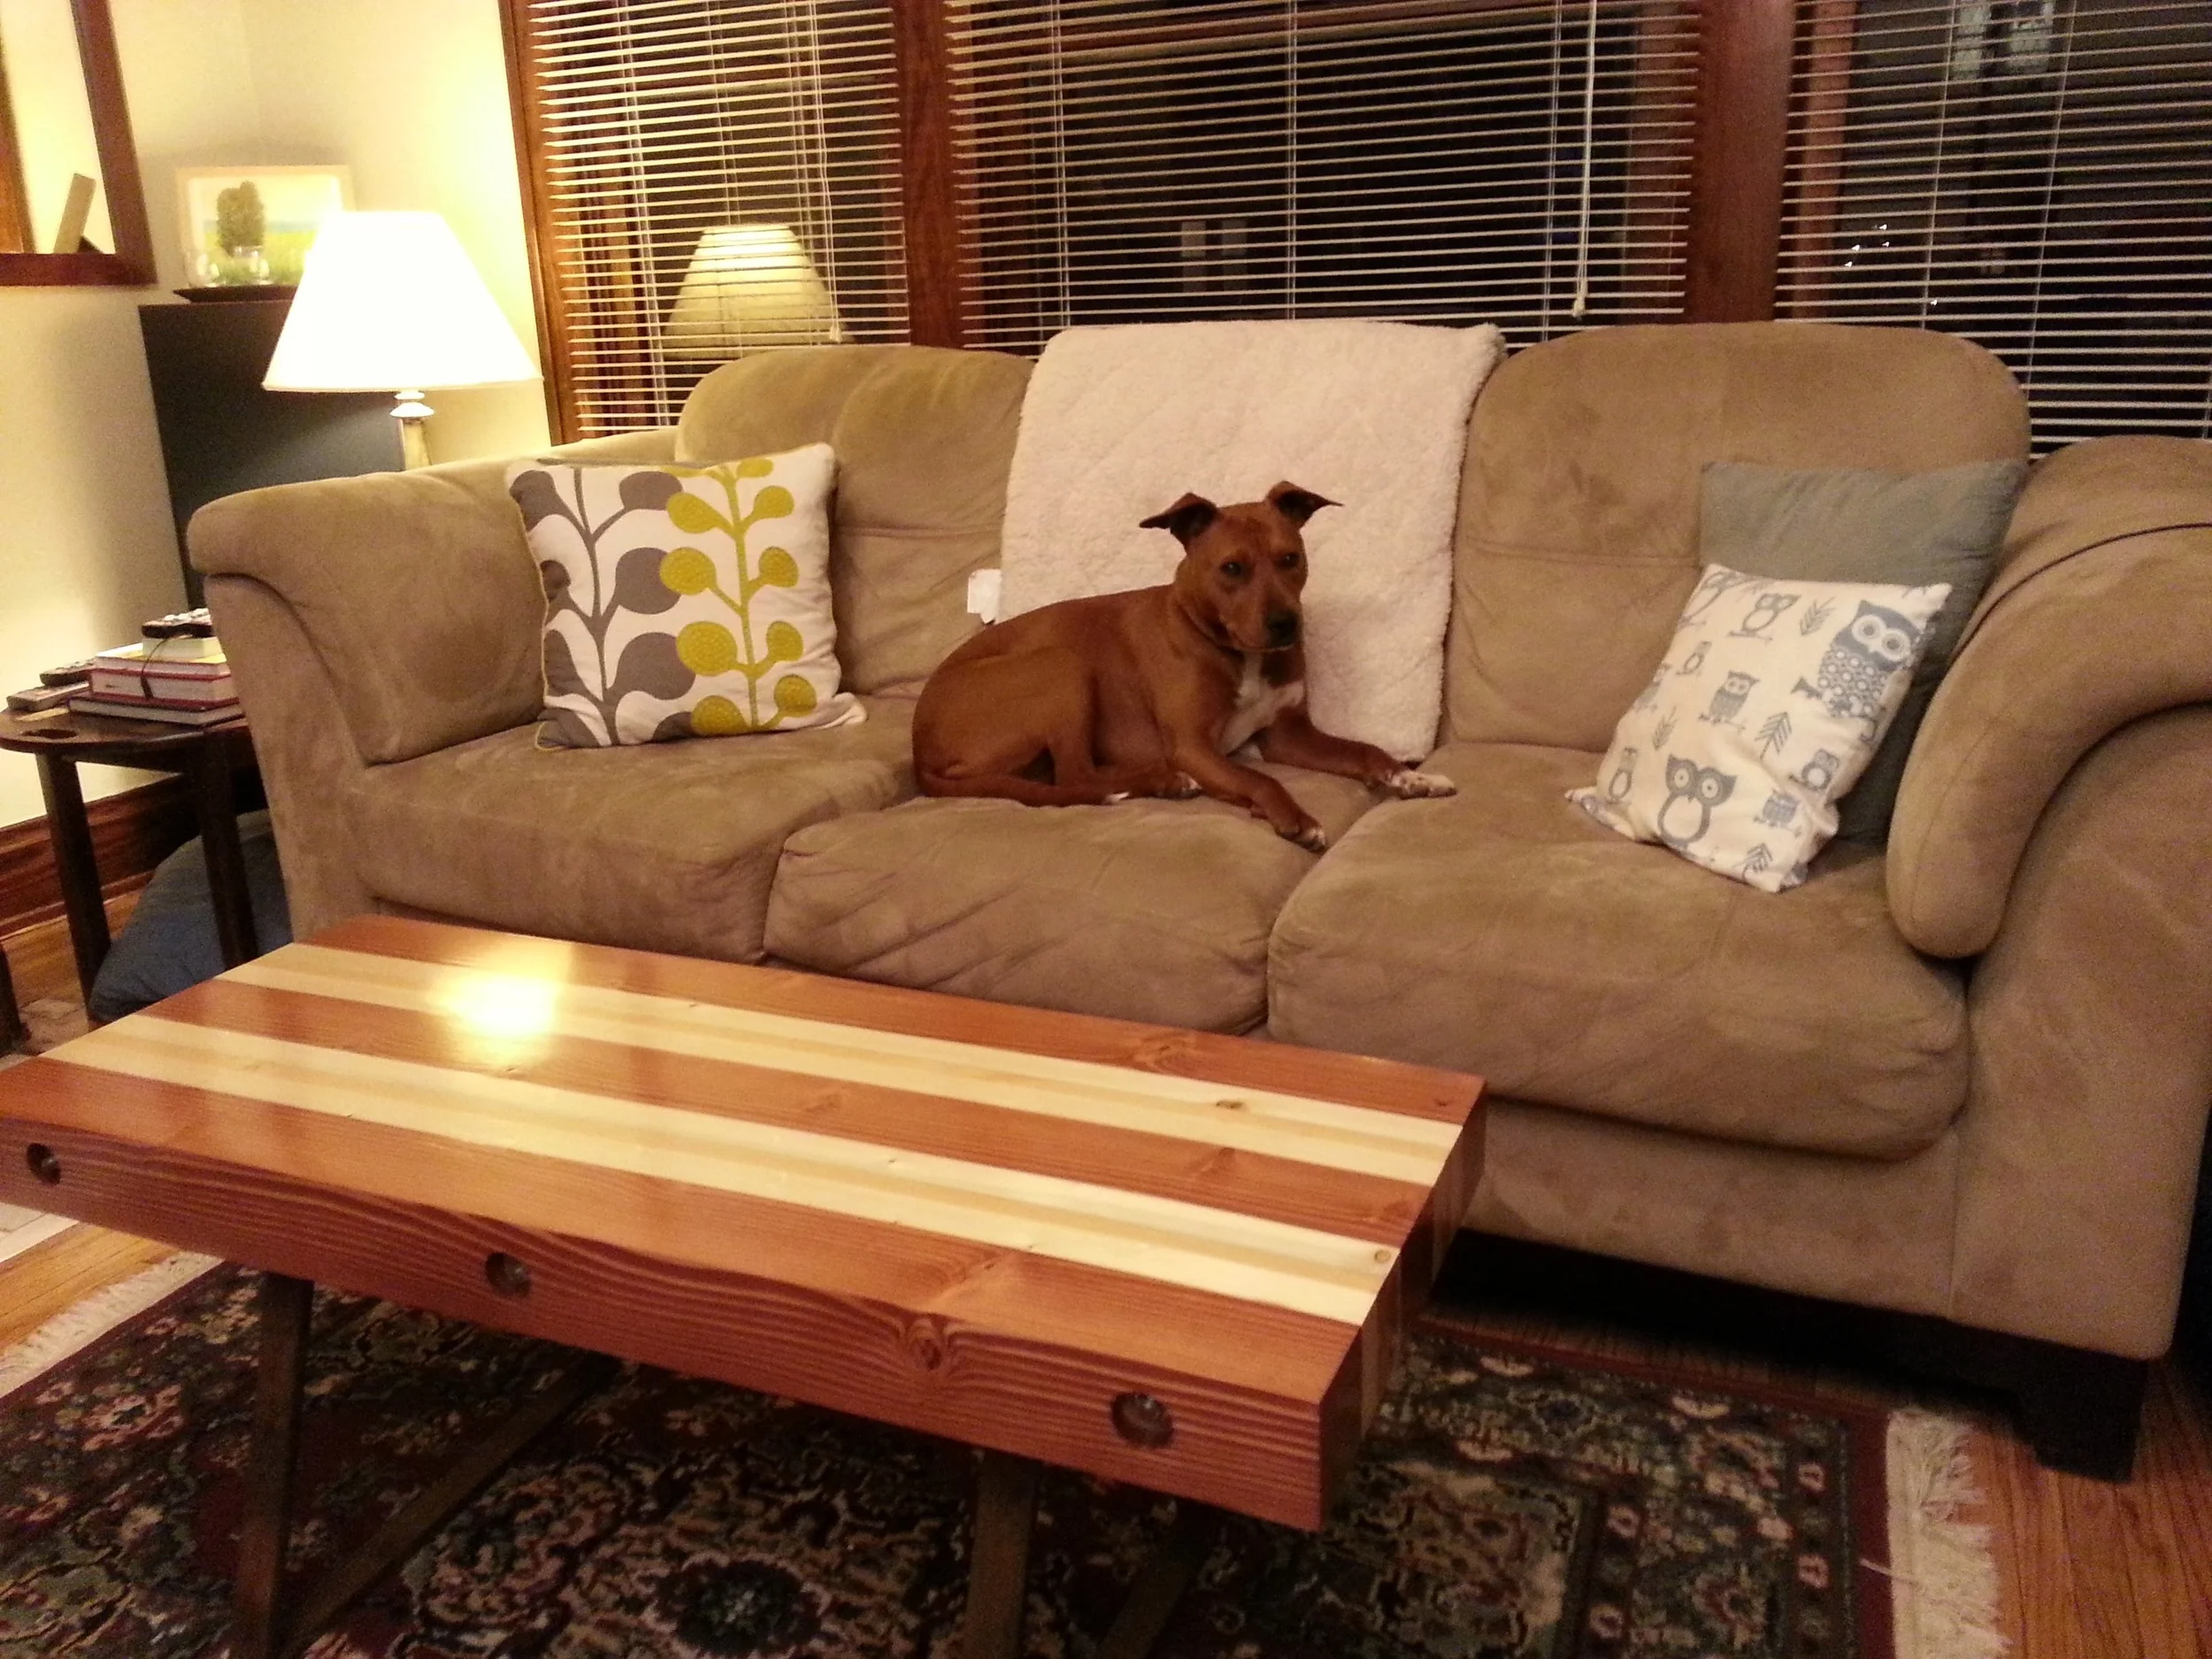
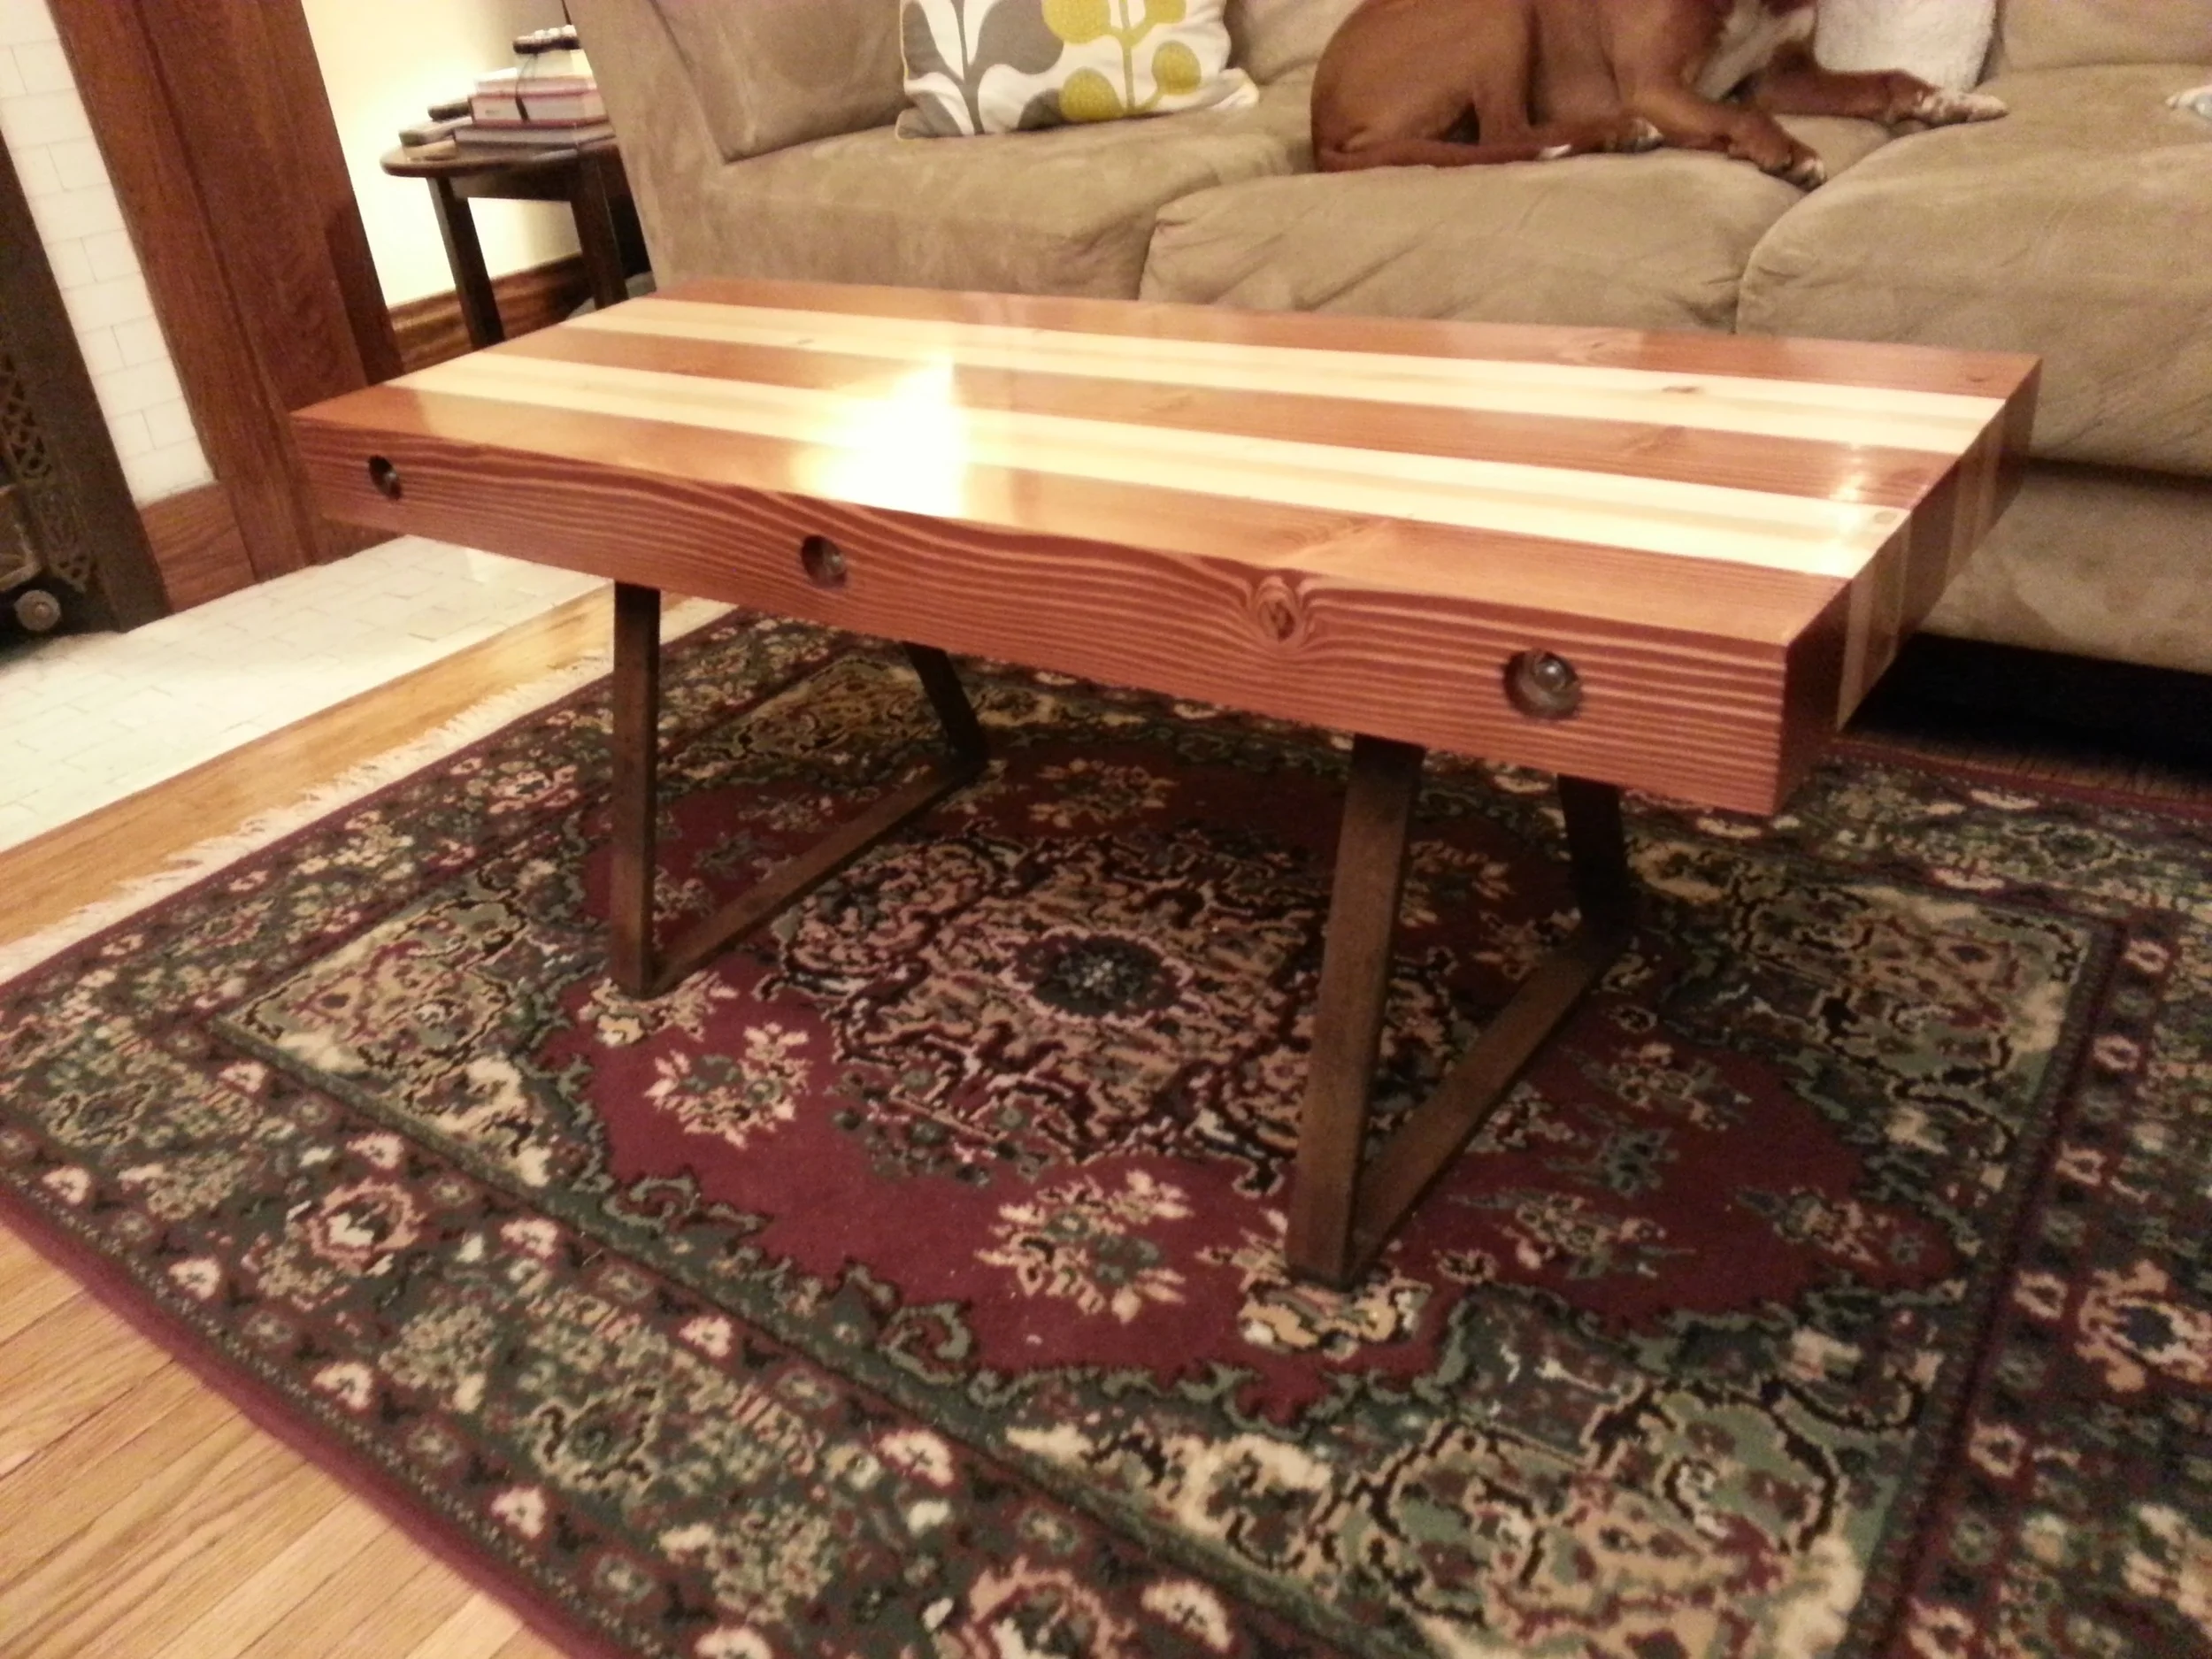
My brand new, completely DIY coffee table
In early February I decided that my old coffee table needed some refurbishment. After years of setting drinks on it without using coasters, the top was showing signs of warping, bubbling, and general wear and tear. My plan was to sand the top down to bare wood, level out the imperfections, and then stain and seal it.
That plan lasted about two minutes with a palm sander before I discovered that what I thought was a solid wood tabletop was actually just a thin wood veneer covering particle board. The sander quickly went through the veneer, exposing both the underlying particle board and my extreme naivety about how most (cheap) furniture is made.
The old coffee table. RIP.
For some reason that probably had to do with the fact that my workload at IBM was pretty light at the time, I decided that it would be a good idea to build my own coffee table, rather than buy a replacement. I had no prior experience making any kind of furniture, but I had made Pinewood Derby cars in Cub Scouts, and I had the assistance (and tools) of my neighbor Joe, who is without a doubt the handiest, and most all-around knowledgeable, person I've ever met.
So enough of the backstory; here's how I ended up building it: I started with the following raw materials:
- 2 4x4x8 Douglas Fir posts
- 2 2x4x8 Whitetwood studs
- 1 1x4x8 Whitewood board
- ~42" of 1/4" threaded bar
- Nuts and washers
- Wood glue
- 8 ft. 1/2" flat bar steel
And here were some rough (profile) sketches of what I had in mind:
Profile sketches of the laminate pattern of the coffee table, and possible leg configurations. Spoiler alert: I went with the upper-left pattern.
Because the wood I was using was rough-hewn dimensional lumber, Joe suggested I start by planing all the boards to remove imperfections, get rid of the rounded corners common to dimensional studs, and get everything to a uniform height. So that's what I did. Sorry, no pictures of that step.
After the boards were all milled and cut to length, I assembled them into the laminate pattern I wanted:
Laminate pattern of the boards
Next, using a template, I drilled three holes in each board for the purpose of running 1/4" threaded bar through the laminated stack in three places to hold all the boards together. I thought this would be necessary to keep the table from falling apart, but in hindsight, wood glue alone would've been sufficient (and drilling that many holes using a template was a pain in the ass).
Here's the threaded bar that runs through the laminate stack. We used a Forstner bit to countersink the ends so that washers would fit inside the recessed area.
After getting everything lined up, I applied wood glue to each of the boards in the laminated stack, pounded the threaded bar through the three holes that went through the stack, placed washers and nuts on both ends of the three threaded bar segments, and tightened everything up. In this regard, having the threaded bar was nice because it automatically acted as a clamp for holding the boards together while the wood glue dried.
Once the glue was completely dry, the next step was to remove the small height differences between the various boards in the stack. I did this by sanding both the top and bottom of the soon-to-be-tabletop with an extremely coarse grit sandpaper, and it took forever. If I had access to a wider planer, I would've been able to level everything with just a few passes through the planer, but I made do with the tools I had.
Once the top and bottom were completely smooth, I wanted to stain the individual boards in the stack different colors. This posed a problem because I had to somehow keep the stain from bleeding from one board to its neighbors. Thanks to a suggestion from Joe, I was able to do this by masking off neighboring boards using FrogTape, and then wiping the stain on with a damp rag.
Masking off every other board with FrogTape to keep the stain from bleeding across boards
And here's what the end result looked like:
After applying stain
After the stain dried, I applied a polycrylic clear coat protective finish, and the tabletop was finished!
For the legs, I took 1/2" flat bar steel that I got from a local scrapyard (it had a beautiful rusty patina), and made cuts with a chop saw partway through the steel at the places where I planned on bending it.
Cuts like this were the only way to ensure that we'd get accurate bends
Then, Joe and I bent the two pieces of steel into the shape of the legs, and backfilled the joints with a fillet weld.
One leg, bent into the desired shape, with the joints fillet welded for reinforcement
The last step was attaching the legs to the tabletop, which was accomplished by drilling holes into the support tabs at the top of the legs, and then sinking screws through the tabs into the tabletop.
Despite never undertaking a project like this before, I was thrilled with how the coffee table turned out. Here are some pictures of the finished product:


